SARDU (short for Shardana Antivirus Rescue Disk Utility) is a free software application that can produce a CD / DVD or a USB device with multi-boot support.
Sunday, February 6, 2011
Shellhub.com
Shellhub.com is a site that contains links to several different categories of components for PowerShell. Links are present for items such as blogs, editors, and books.
Friday, February 4, 2011
Exchange Remote Connectivity Analyzer
The Exchange Remote Connectivity Analyzer is a web site that can perform several different types of connectivity tests for an Exchange service.
Parted Magic
The Parted Magic OS employs core programs of GParted and Parted to handle partitioning tasks with ease, while featuring other useful software (e.g. Partimage, TestDisk, Truecrypt, Clonezilla, G4L, SuperGrubDisk, ddrescue, etc…) and an excellent set of info to benefit the user. An extensive collection of file system tools are also included, as Parted Magic supports the following: btrfs, ext2, ext3, ext4, fat16, fat32, hfs, hfs+, jfs, linux-swap, ntfs, reiserfs, reiser4, and xfs.
Thursday, February 3, 2011
Ostinato
Ostinato is an open-source, cross-platform network packet crafter/traffic generator and analyzer with a friendly GUI. Craft and send packets of several streams with different protocols at different rates. Ostinato aims to be "Wireshark in Reverse" and become complementary to Wireshark.
Wednesday, February 2, 2011
Microsoft Mathematics
Microsoft Mathematics provides a set of mathematical tools that help students get school work done quickly and easily. With Microsoft Mathematics, students can learn to solve equations step-by-step while gaining a better understanding of fundamental concepts in pre-algebra, algebra, trigonometry, physics, chemistry, and calculus.
Microsoft Mathematics includes a full-featured graphing calculator that’s designed to work just like a handheld calculator. Additional math tools help you evaluate triangles, convert from one system of units to another, and solve systems of equations.
Tuesday, February 1, 2011
Backing up print queues on a Windows 2008 R2 Server
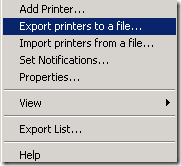
To back up existing print queues on a Windows 2008 R2 Server, type “print management” or printmanagement.msc in the search dialog box. Once launched, click on Print Servers to explain the list. Right-click on the print server that contains the printer queues, and select the Export printers to a file menu option.
A wizard will walk through several screens including selecting a name and file location for the export. When the process has completed, a file with an extension of .printerExport should be present.
Openfiler and VMWare ESXi
Openfiler is a free open source storage package. It is available in several formats, including a pre-built VMWare image. The environment used for this testing was VMWare Workstation version 7.1.3, with the free ESXi hypervisor within one VM and the Openfiler appliance in another.
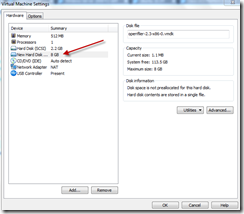
Before launching the Openfiler VM, a second SCSI virtual hard drive was created.
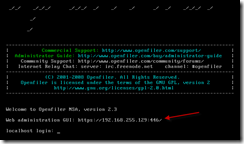
Once launched, the main page will display the IP address and URL to use to access the web interface.
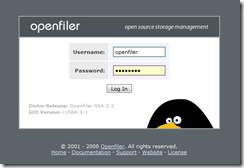
The default user name is openfiler and the default password is password.
Once logged into the web interface, click on the Volumes main menu option and add a new physical volume.
Click on the second virtual hard drive that was created.
Slide down the page and create a new partition. Leave the defaults in place.
Once the partition has been created, click on the Manage Volumes link.
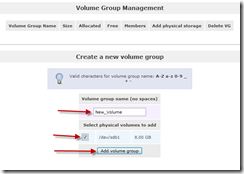
Enter a name for the new volume group, select the hard drive partition, and click the Add Volume Group button.
Click on the Add Volume link.
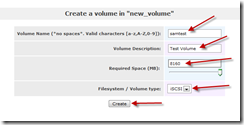
Slide down the page to the create volume section. Enter a name, description, increase the size to the maximum value, and click on the Create button.
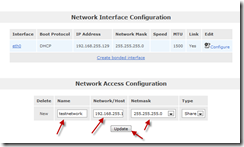
Click on the System main menu option. Slide down to the Network Access Configuration section. Enter a name, IP address, subnet mask, and click the Update button. In testing, it was determined that the subnet mask should be 255.255.255.255.
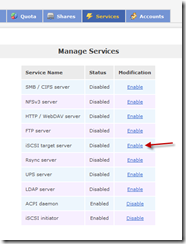
Click on the Services main menu option and enable the ISCSI target component.
Click on the Volumes main menu option and click on the ISCSI Targets link.
Click on the Add button.
Click on the Network ACL submenu. Change the access drop-down dialog box to Allow and click on the Update button.
Click on the LUN Mapping submenu. Click on the Map button.
Click on the CHAP Authentication submenu. Enter an user name, password, and then click on the Add button.
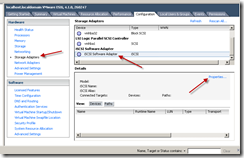
Launch the free VMWare ESXi server and load the vSphere client. Under the Configuration tab, click on Storage Adapters, the ISCSI adapter, and then on the Properties link.
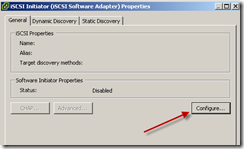
Click on the Configure button.
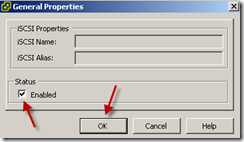
Click on the Enabled checkbox, and then click on the OK button.
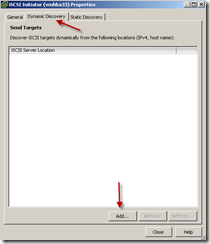
Click on the Dynamic Discovery tab and click on the Add button.
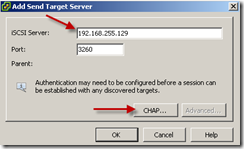
Enter the IP address of the Openfiler VM and then click on the CHAP button.
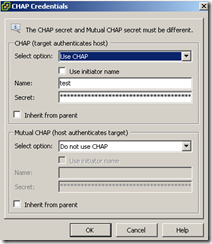
Enter the user name and password that was configured for CHAP within the Openfiler service.
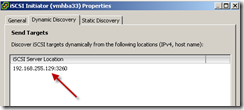
After clicking OK twice, the entry should now appear.
After clicking OK, a dialog box may appear asking to rescan; click Yes.
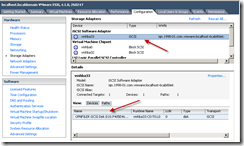
When accessing the ISCSI adapter, the Openfiler entry should be present.
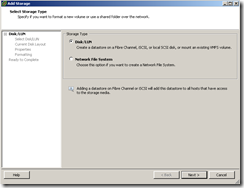
Click on Storage, and then on the Add Storage link.
Select the Disk/LUN option and click on the Next button.
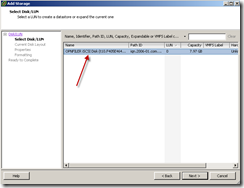
The LUN created within the Openfiler service should be present as an option to use. Select the entry and click the Next button.
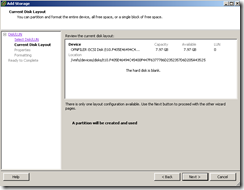
Click the Next button.
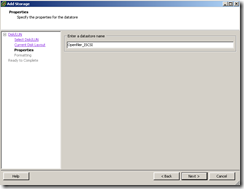
Enter a name and click the Next button.
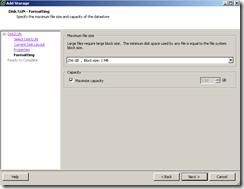
Leave the defaults and click the Next button.
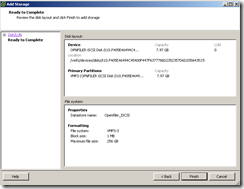
Click the Finish button.
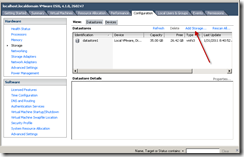
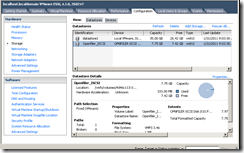
The Openfiler LUN should now appear under the Datastores list.
